I found this blog, Making the World Cuter and loved this tutorial.
I can not wait to make some shirts for our little man that is coming soon!
Foam Stamps + Bleach = Cool Shirts
I have been wanting to use a bleach pen and make my kids shirts forever, especially since I saw Cheri's cute bleach pen shirts at I am Momma-Hear Me Roar. So I was super excited that my mom had picked up a bleach pen and shirts to decorate for my 5 year old while I was in Portland last week.
I brought them home, and thought about all the ways I could do these, but I wanted mine to be original. But how?
I used to be a scrapbooker, and I still have a BUNCH of stuff.
My husband threatens me on a daily basis to get rid of it, but I know I can make good use of it.
Light bulb!
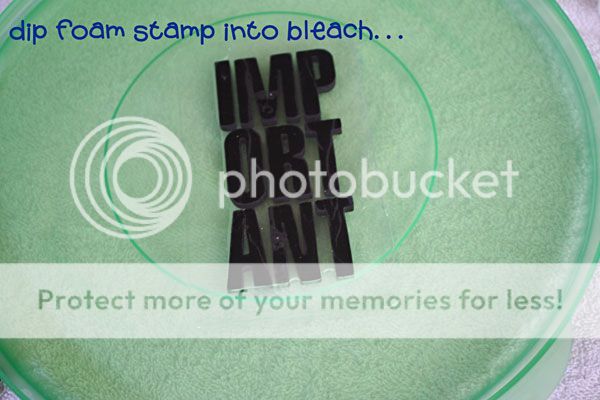
I have a HUGE collection of foam stamps-they were the perfect fit for my project.
SO I got to work...


 Okay-so out of the 4 t-shirts I made-I took a picture of the one that didn't turn out! This gray was just too light, and I didn't let the bleach set long enough to even make a difference-so it came out of the wash looking like a bleached work shirt, rather than something cool.
SO-use darker colors...or be more patient and let it sit for hours and see what comes of your lighter t-shirts.
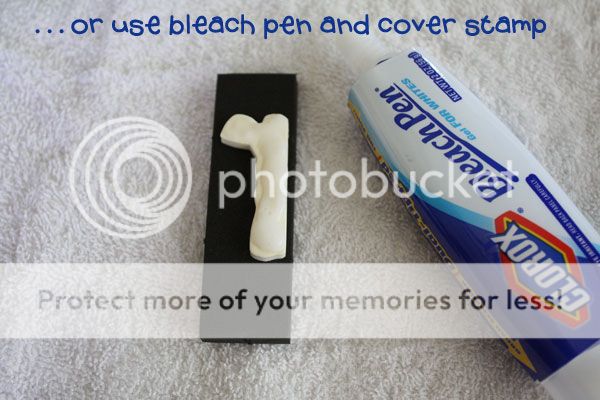
On my darker shirts, I only waited like 10 minutes. The parts I used the straight bleach on lightened SUPER fast, and the bleach pen just barely started working which left super cool colors. On the black it left orange/red, on the green it left a blue and on the navy blue shirt it left a kind of pink/orange. LOVE the results!
After you have waited as much as you are going to wait...
 After drying, let your super cute model wear it for you and make a goofy face...
 Don't you just LOVE how it turned out?
The other 2 are cool too, but this one is my favorite.
I love the orange dashes from the bleach pen, and the super cool bleach splats.
Here are some things I learned from this...

I brought them home, and thought about all the ways I could do these, but I wanted mine to be original. But how?
I used to be a scrapbooker, and I still have a BUNCH of stuff.
My husband threatens me on a daily basis to get rid of it, but I know I can make good use of it.
Light bulb!
I have a HUGE collection of foam stamps-they were the perfect fit for my project.
SO I got to work...

 Okay-so out of the 4 t-shirts I made-I took a picture of the one that didn't turn out! This gray was just too light, and I didn't let the bleach set long enough to even make a difference-so it came out of the wash looking like a bleached work shirt, rather than something cool.
SO-use darker colors...or be more patient and let it sit for hours and see what comes of your lighter t-shirts.
On my darker shirts, I only waited like 10 minutes. The parts I used the straight bleach on lightened SUPER fast, and the bleach pen just barely started working which left super cool colors. On the black it left orange/red, on the green it left a blue and on the navy blue shirt it left a kind of pink/orange. LOVE the results!
After you have waited as much as you are going to wait...
 After drying, let your super cute model wear it for you and make a goofy face...
 Don't you just LOVE how it turned out?
The other 2 are cool too, but this one is my favorite.
I love the orange dashes from the bleach pen, and the super cool bleach splats.
Here are some things I learned from this...


