- 1.5 yards of fabric. I used a cream sateen fabric.
- approx. 5 yards of lace. But this will depend on how long your skirt is, and how thick your lace is. My skirt was 21" long and my lace was about 4" thick.
- zipper
- small button
- a pencil skirt that fits well to use for a pattern
- 1.5 yards of pattern fabric (optional)
Step 1:
Lay your pencil skirt on your pattern fabric/paper to create the pencil skirt pattern for the main structure of the skirt. Draw an outline around your skirt, but make sure to leave 1/2" all around the body of the skirt for the seam allowance. I kept the length extra long so that I could hem it later. Trace around the waistband separately. I allowed for a 1/4" s.a. for the waistband on the top and bottom, 1/4" seam allowance for one side of the waistband, and 1" seam allowance for the other side (this will help when creating the button closure).
You can do this directly onto your main fabric, but I used a grid fabric just to be safe. I also wanted to have a pattern so that I can make a quick pencil skirt again in the future. I used a lightweight pattern material with a grid printed on it. This can be found up by the cutting section at Joanns and is pretty inexpensive.
Make sure to note of where your darts are, if your skirt has any. I measured how wide my darts would be if they were laid flat, and added this onto the width of the top of the skirt, so that I could create the same size darts.
Step 2:
Cut out the front and back pieces of your skirt (these will probably be different sizes if one side has darts), and cut out 4 waistband pieces.
* Remember to cut 2 of the waistband pieces about 1" longer than the other two.
Step 3:
You are going to create your skirt (minus the waistband) first. So the first thing that I did was to sew in the darts. I marked where they were with a yellow highlighter (ghetto fabulous, I know. But I was too lazy to find my marking pencil)
Sew up the darts, and press them so that they are pointing towards the center of the skirt.
Step 4:
Now take the front and back skirt pieces and place them right sides together. Pin up the sides, make a note of where your zipper will go, and sew the side seams with a 1/2" seam allowance.
Make sure to switch to a basting stitch when you get to the section where your zipper will be placed.
Step 5:
This step comes a little sooner than most of my other skirts, but now it's time to hem the skirt. It is way easier to do it now, than to try to do it with the lace already on. It might be a little tricky without the waistband on yet, so pay close attention to where the top of the skirt will rest on your waist once the waistband is on. (it might be helpful to pin the waistband on, just to get a better visual)
You are welcome to make the hemline as thick or as thin as you want. I surged the ends of mine and sewed it under 1". You wont really even see the hem of the skirt, since the lace will hang over it a little. I made my hem about 1/2" shorter than I wanted the finished skirt to be, because I wanted the lace to hang over that extra 1/2".
Step 6:
Take a deep breath and insert your zipper. Remember
this tutorial I linked to when making the Pinwheel Skirt? I still watch it every time I sew in a zipper.
Step 7:
Not it's time to cut your lace. This can get a little tricky, figuring out the spacing of the rows, cutting the lace, etc. I crashed and burned a few times, and had to make at least 3 different trips to Joanns for more lace. This step is going to be hard to explain measurement-wise, because your lace might be a different width, but here are a few tips I picked up:
Pin your lace on loosely before you cut it to give you an idea of what you want the spacing of the lace to look like.
I found a little trick to cutting your lace. Make sure the width of the lace is the same width of the skirt at the part where you are sewing it on. Pencil skirts naturally get bigger around the hips, so lay the lace across where each layer will be to get the measurements. If all your lace is the same width, it wont fit onto your skirt.
Also, when cutting out the lace, for each layer cut out two strips (one for the front and one for the back) and sew up the side seams. Another helpful trick is to gradually have the lace get wider at the bottom of each strip (about 1" wider worked for me). This will help your lace from fitting too snugly around your skirt. See the picture below:
Dont pay attention to the cut strip of fabric above the lace. That was one of my ideas that crashed and burned. Just look at the lace underneath. See how the bottom of the lace is wider than the top?
*Note: When sewing up the side seams of your lace, don't sew together the lace at the side seam of where your zipper will be. these will be sewn directly to the zipper in the next step.
Step 8:
Now it's time to sew your lace to the skirt. Start with the first few top rows of lace that will be touching the zipper. Those might get a little tricky. As you are pinning them to the skirt, take the lace ends that your didn't sew together, and tuck those under the zipper flaps.
Pin as close together as you can, and sew the lace onto the zipper flaps.
Once you have tackled adding the lace to the zipper, you are almost home free. Now sew on each row of lace. It is a good idea to mark all along where you want each row of lace to go with tailors chalk, or a light colored pencil to keep all of the lines straight.
Keep pinning and sewing the layers of lace, until the skirt is covered. Remember to keep in mind on your bottom layer of lace where your want your skirt to hit. It is a good idea to try it on pinned first, before you sew the last few layers, just to make sure the length is good.
Step 9:
Waistband time! For my waistband, I wanted it to be a little more sturdy, to give it a crisp look. So I iron on some interfacing for some support. This is the interfacing I used:
Only put the interfacing on 2 of your 4 waistband pieces. It's very easy to use, and attaches onto the fabric quickly. I cut out the interfacing 1/4" smaller than the waistband on all sides, since I used a 1/4" seam allowance.


Take 1 waistband with interfacing and one without, place them right sides together, and iron along the top with a 1/4" s.a. Repeat this for the remaining 2 waistband pieces.
Open up the waistband, and pres the seam allowance over to one side. Close it back up and press.
Match up two of the sides of each waistband, and sew together with a 1/2" seam allowance (this measurement may differ, depending on the seam allowance you allowed for when your created your waistband pattern). Press open, and serge or zigzag stitch the s.a.
Step 10:
Attach your waistband to your skirt. Keep in mind that one waistband will be longer than the other. This is for the button closure at the top. On my skirt, I had the longer waistband go in the front. The shorter waistband should hang over the side about 1/4". We will hand stitch this closed once the waistband is attached. The longer side will hang over about an inch.
To attach your waistband, I used the same method that I did for my Pinwheel Skirt. You can go
here for the tutorial. Follow steps 20 and 21.
Notice in the picture above that the longer side of the waistband still has a raw edge? take those edges and fold them into the waistband, iron flat, and hand sew them together for a nice finish.
To finish off the corner sides of your waistband, just fold the raw edges into the waistband, iron flat, and either hand stitch, or sew closely along the edge.
Step 11:
Attach your button and sew your button hole. I sewed my button to the longer end of the waistband, and sewed the button hole to the shorter end. When it is buttoned, the longer end lays under the waistband, out of sight.
This is one of the harder skirts I have done for sure, so just have patience and try not to get too discouraged. And make sure you get plenty of lace. Or at least get your lace at a pace like Joanns, where you can always go back for more if you need to.

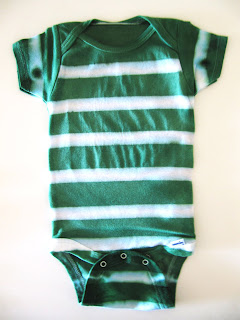



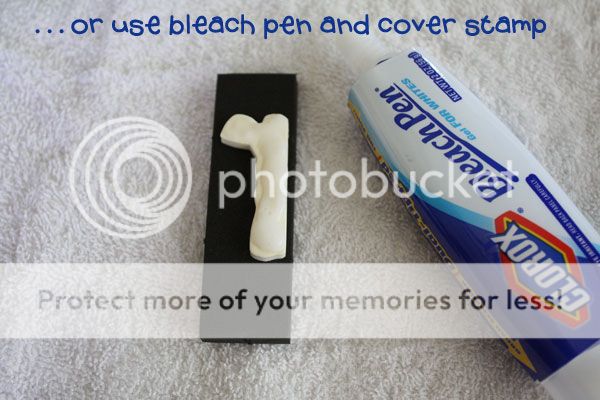
 Okay-so out of the 4 t-shirts I made-I took a picture of the one that didn't turn out! This gray was just too light, and I didn't let the bleach set long enough to even make a difference-so it came out of the wash looking like a bleached work shirt, rather than something cool.
 After drying, let your super cute model wear it for you and make a goofy face...
 Don't you just LOVE how it turned out?


